Building a vSAN cluster with PowerCLI
Step 1: Connect to
the vCenter Server
connect-viserver sa-vcsa-01.vclass.local
Step 2: Create a
datacenter
new-datacenter -Location (get-folder -norecursion) -name
“javier datacenter”
Step 3: Add your
servers to your datacenter
add vmhost sa-esxi-02.vclass.local -location “javier
datacenter” -user root -password VMware1!
add vmhost sa-esxi-03.vclass.local -location “javier datacenter”
-user root -password VMware1!
Step 4: Create a
distributed virtual switch for vSAN
new-vdswitch -name vsanswitch -location “javier datacenter”
get-vdswitch -name vsanswitch | new vdportgroup -name vsanpg
get-vdswitch -name vsanswitch | add vdswitchvmhost -vmhost
sa-esxi-01.vclass.local, sa-esxi-02.vclass.local, sa-esxi-03.vclass.local
$nic1=get-vmhost sa-esxi-01.vclass.local | get vmhostnetworkadapter -physical -name vmnic3
$nic2=get-vmhost sa-esxi-02.vclass.local | get vmhostnetworkadapter -physical -name vmnic3
$nic3=get-vmhost sa-esxi-03.vclass.local | get vmhostnetworkadapter -physical -name vmnic3
get-vdswitch vsanswitch | add-vdswitchphysicalnetworkadapter
-vmhostphysicalnic $nic1
get-vdswitch vsanswitch | add-vdswitchphysicalnetworkadapter
-vmhostphysicalnic $nic2
get-vdswitch vsanswitch | add-vdswitchphysicalnetworkadapter
-vmhostphysicalnic $nic3
new-vmhostnetworkadapter -vmhost sa-esxi-01.vclass.local
-portgroup vsanpg -virtualswitch vsanswitch -IP 10.10.10.201 -subnetmask
255.255.255.0 -vsantrafficenabled $true
new-vmhostnetworkadapter -vmhost sa-esxi-02.vclass.local
-portgroup vsanpg -virtualswitch vsanswitch -IP 10.10.10.202 -subnetmask
255.255.255.0 -vsantrafficenabled $true
new-vmhostnetworkadapter -vmhost sa-esxi-03.vclass.local -portgroup
vsanpg -virtualswitch vsanswitch -IP 10.10.10.203 -subnetmask 255.255.255.0
-vsantrafficenabled $true
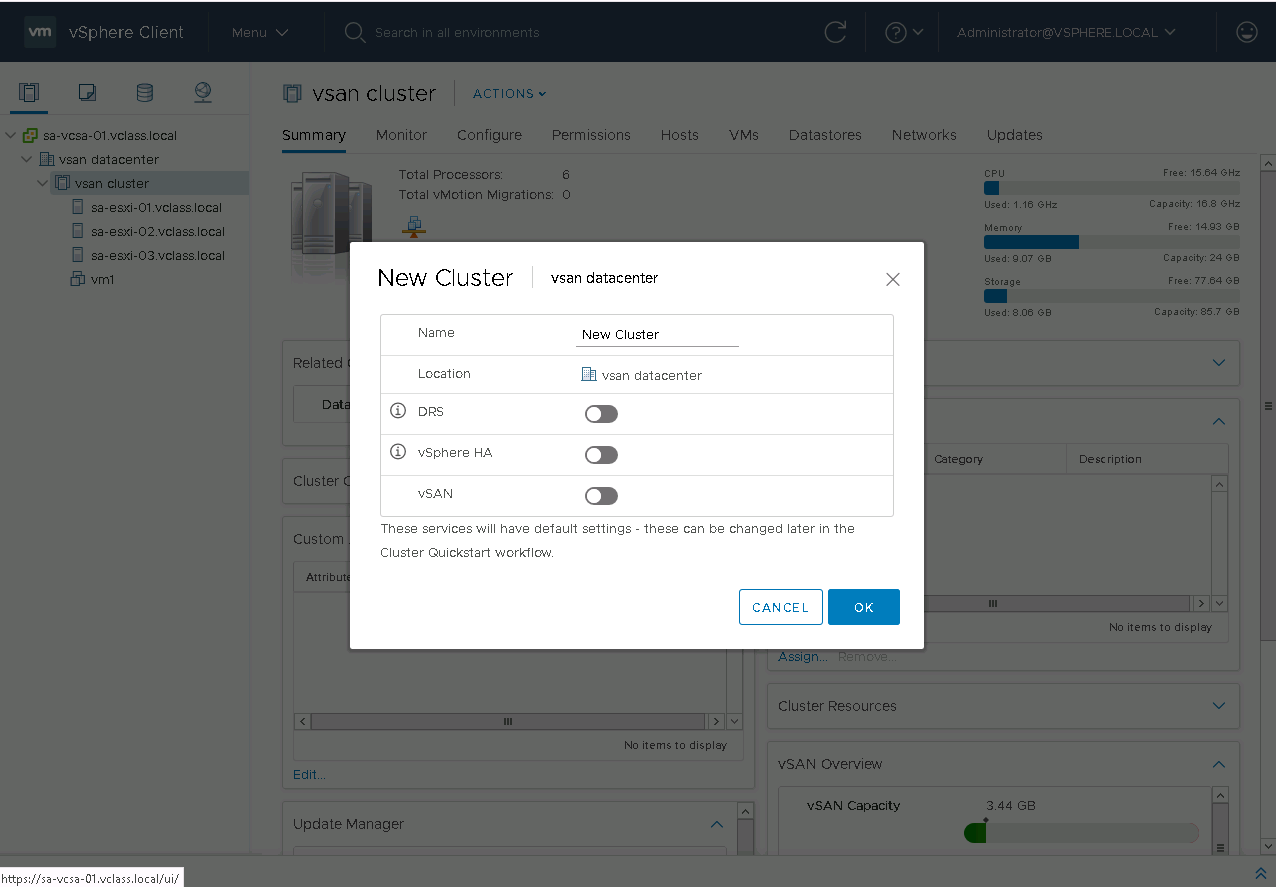
Step 5: Create a
cluster enabled for vSAN and DRS
new-cluster -name “javier cluster” -vsanenabled -drsenabled
-location “javier datacenter”
Step 6: Add the
servers to the cluster and then enable HA
get-vmhost sa-esxi-01.vclass.local | move-vmhost
-Destination “Javier cluster”
get-vmhost sa-esxi-02.vclass.local | move-vmhost
-Destination “Javier cluster”
get-vmhost sa-esxi-03.vclass.local | move-vmhost
-Destination “Javier cluster”
set-cluster -cluster “Javier cluster” -HAEnabled:$true
get-cluster
get-vsanclusterconfiguration
Step 7: Create the
diskgroups for the hosts
new-vsandiskgroup -vmhost sa-esxi-01.vclass.local
-ssdcanonicalname mpx.vmhba0:C0:T1:L0 -datadiskcanonicalname
mpx.vmhba0:C0:T2:L0, mpx.vmhba0:C0:T3:L0
new-vsandiskgroup -vmhost sa-esxi-02.vclass.local
-ssdcanonicalname mpx.vmhba1:C0:T1:L0 -datadiskcanonicalname
mpx.vmhba1:C0:T2:L0, mpx.vmhba1:C0:T3:L0
new-vsandiskgroup -vmhost sa-esxi-03.vclass.local
-ssdcanonicalname mpx.vmhba1:C0:T1:L0 -datadiskcanonicalname
mpx.vmhba1:C0:T2:L0, mpx.vmhba1:C0:T3:L0
Step 8: Verify disk
and disk group related information
get-datastore
get-vsandiskgroup
get-vsandisk
get-vsanspaceusage
get-vsanfaultdomain
Step 9: Create a
fault domain with two servers
new-vsanfaultdomain -name domain1 -vmhost
sa-esxi-01.vclass.local, sa-esxi-02.vclass.local
Step 10: Add a host
to your fault domain
set-vsanfauldomain domain1 -addvmhost
sa-esxi-03.vclass.local
Step 11: Remove the
third host from the fault domain
set-vsanfaultdomain domain1 -removehost
sa-esxi-03.vclass.local
Step 12: Remove the
fault domain
remove-vsanfaultdomain domain1
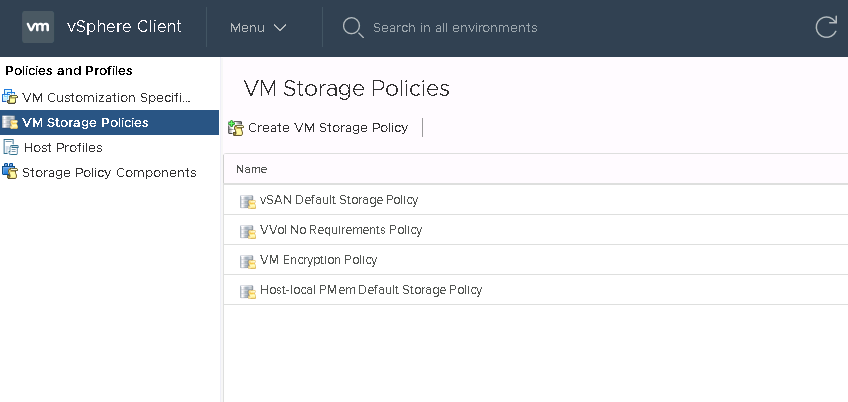
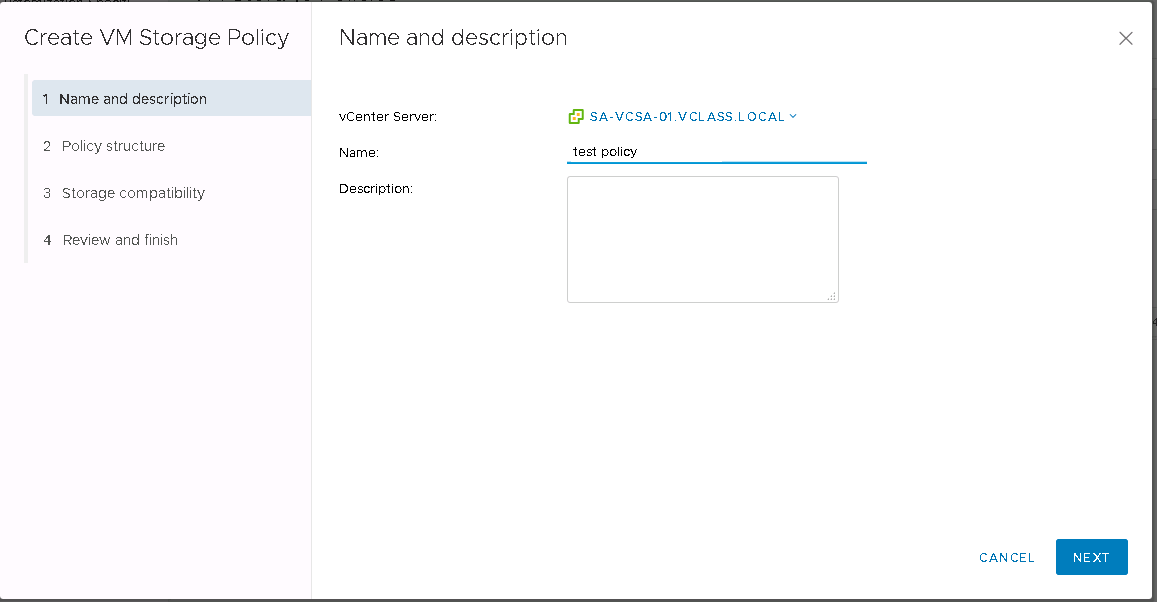
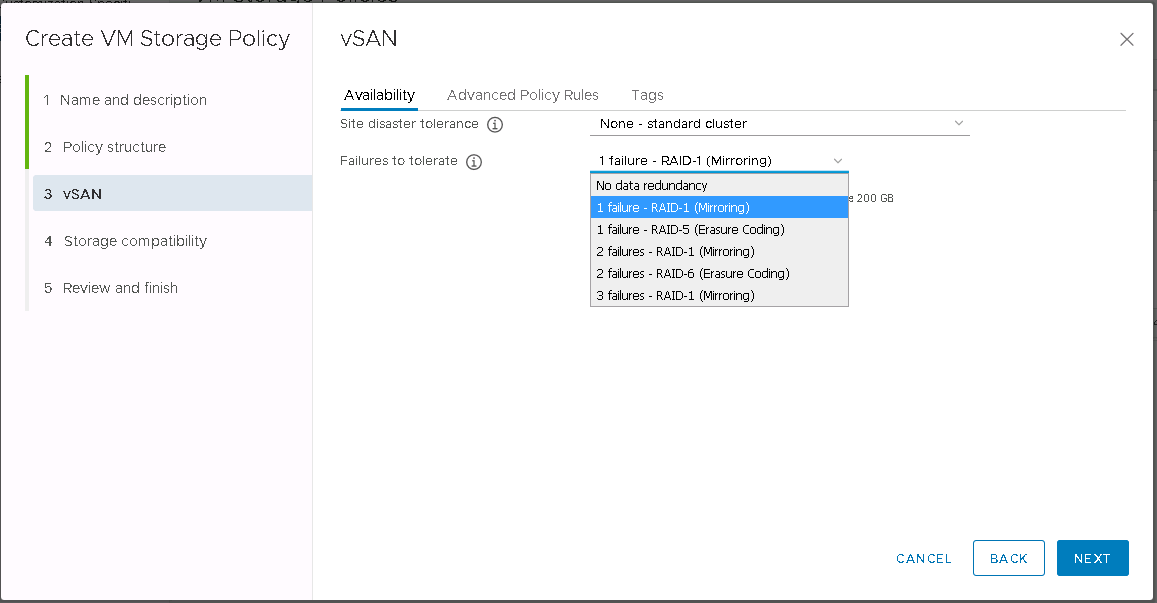
Step 13: Create two vsan
virtual machine storage policies
get-command “*spbm*”
get-spbmstoragepolicy
get-spbmcapability VSAN*
new-spbmstoragepolicy -name PFTT=2 -anyrulesets
(new-spbmruleset (new-spbmrule -Capability (get-spbmcapability -Name
“VSAN.hostFailuresToTolerate”) -Value 2 ) )
new-spbmstoragepolicy -name RAID10 -anyrulesets
(new-spbmruleset (new-spbmrule -Capability (get-spbmcapability -Name
“VSAN.hostFailuresToTolerate”) -Value 1 ), (new-spbmcapability -name
“VSAN.stripeWidth” ) -Value 2) )
Step 14: Export one
of the policies
export-spbmstoragepolicy -storagepolicy RAID10 -filepath C:\
Step 15: Remove a
policy that is not in use
remove-spbmstoragepolicy -storagepolicy RAID10