Part 1: Installation and configuration of the NSX Manager.
Step 1:
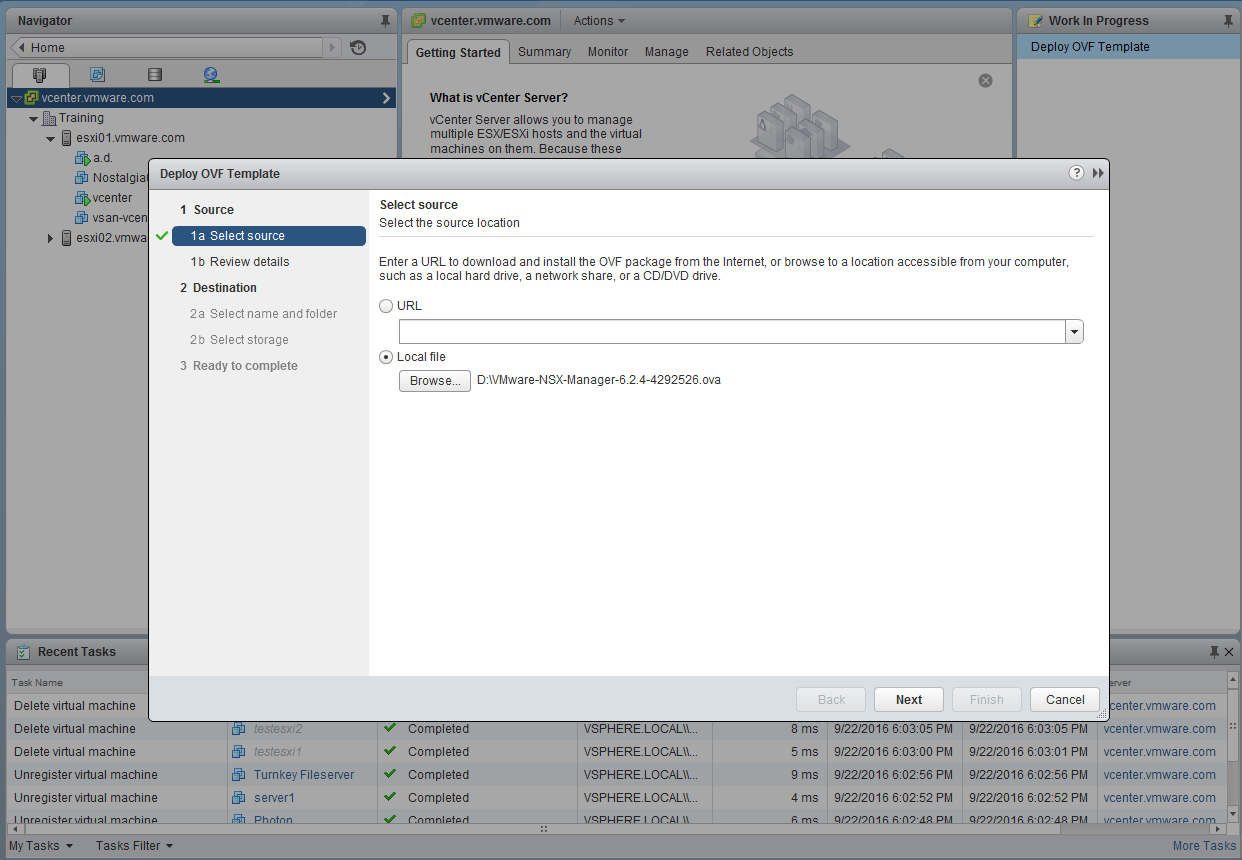
Download the .ova from vmware.com/downloads and deploy via ovf. The download is about 2.5 gbs in size.. The linux-based appliance uses 4 vcpus and 16gbs of ram. All of the ram is reserved by default. NSX relies on distributed switches, so read the installation guide to see how to configure those switches.


Step 2:
Connect to the appliance via a browser and log in as admin. The password in this case is VMware1!VMware1!.

Step 3:
Register the appliance with the vCenter Server. This is a one to one relationship.


Step 4:
Log out and log into the vCenter Server. Notice the NSX Plugin


Part 2: Installation of the NSX Controllers.
Step 5:
After adding the NSX license, install 3 nsx controllers. Only one will be installed in this case. To do so, click on the NSX plugin, go to installation and click on the green plus sign. In the process, you will have to have a cluster in place and create an IP pool.


Install the NSX Modules for the esxi hosts. Click on the Host Preparation Tab and click on Actions.


Configure VXLAN on the esxi hosts.


Add the Segment ID Pool.


Step 9:
Configure a Transport Zone.


Step 10:
Create a Logical Switch.


Final Note: Now migrate the vms to the logical switch and test connectivity.
Part 3: Deploy a Distributed Logical Router
Step 1:
On the left side, click on NSX Edges

Step 2:
Give it a name, select a name and click on next.

Step 3:
Give the main user (admin) a password and enable ssh (optional).

Step 4:
Click on the Green Plus Sign and specify the cluster name, the datasote and hostname.

Step 5:
Connect the router to a port group in a distributed switch.

Step 6:
Provide the two ips for the internal interfaces that connect the two logical switches by clicking on the green plus sign. The two ips connect the 10.1.1 and 10.1.2 networks in this case.

Step 7:
Click on the Green Plus Sign to add the ips of the two interfaces.

Step 8:
Add the two ips and verify the values and connectivity.

Step 9:
Click on Finish.

After changing the gateways of the vms (to the ips of the router), test connectivity. In this case, linux1 resides on esxi02 and is connected to the second logical switch (10.1.2.201) is able to ping another vm located on esxi01, logical switch1 in the 10.1.1 network.

No comments:
Post a Comment
Note: Only a member of this blog may post a comment.